Dryer Maintenance Tips in 8 Easy Steps

Keeping dryer vents clean not only improves performance but increases efficiency and reduces the risk of dangerous dryer fires. How do you clean a dryer vent? After disconnecting the vent from the wall and dryer, use an appliance brush and vacuum hose attachment to remove accumulated lint. Our step-by-step guide details how to clean a dryer vent to keep this trusty appliance running safely and smoothly. Call your local experts at Premier Appliance to do professional work for you on your dryer or washer or any other appliances.
How to Clean a Dryer Vent in 8 Easy Steps
Performing a regular dryer vent cleaning is an important piece of maintenance that’s often forgotten until there’s a problem. Before we discuss how to clean a dryer vent, here are some common signs that it’s in need of attention.
Signs a Dryer Vent Needs Cleaning
Impaired function and excessive heat are just some of the signals your dryer uses to tell you it’s time for a vent cleaning.
These common signs may indicate it’s time to clean the dryer vents:
- Dryer takes too long to dry: Blocked vents limit air circulation, leaving clothes damp and requiring multiple cycles to dry completely.
- Dryer not heating well: Reduced circulation also limits heat production, increasing drying times.
- Dryer hot to touch: When airflow is limited due to a buildup of lint, the dryer is also prone to overheating. If it gets hot enough, it can become a dryer lint fire hazard.
If any of the above signs are present, use the following steps to clean your dryer vents quickly and easily.
How to Clean a Dryer Vent
Cleaning a dryer vent is simple when you use the right methods and supplies.
Here’s how to clean a dryer vent in 8 steps:
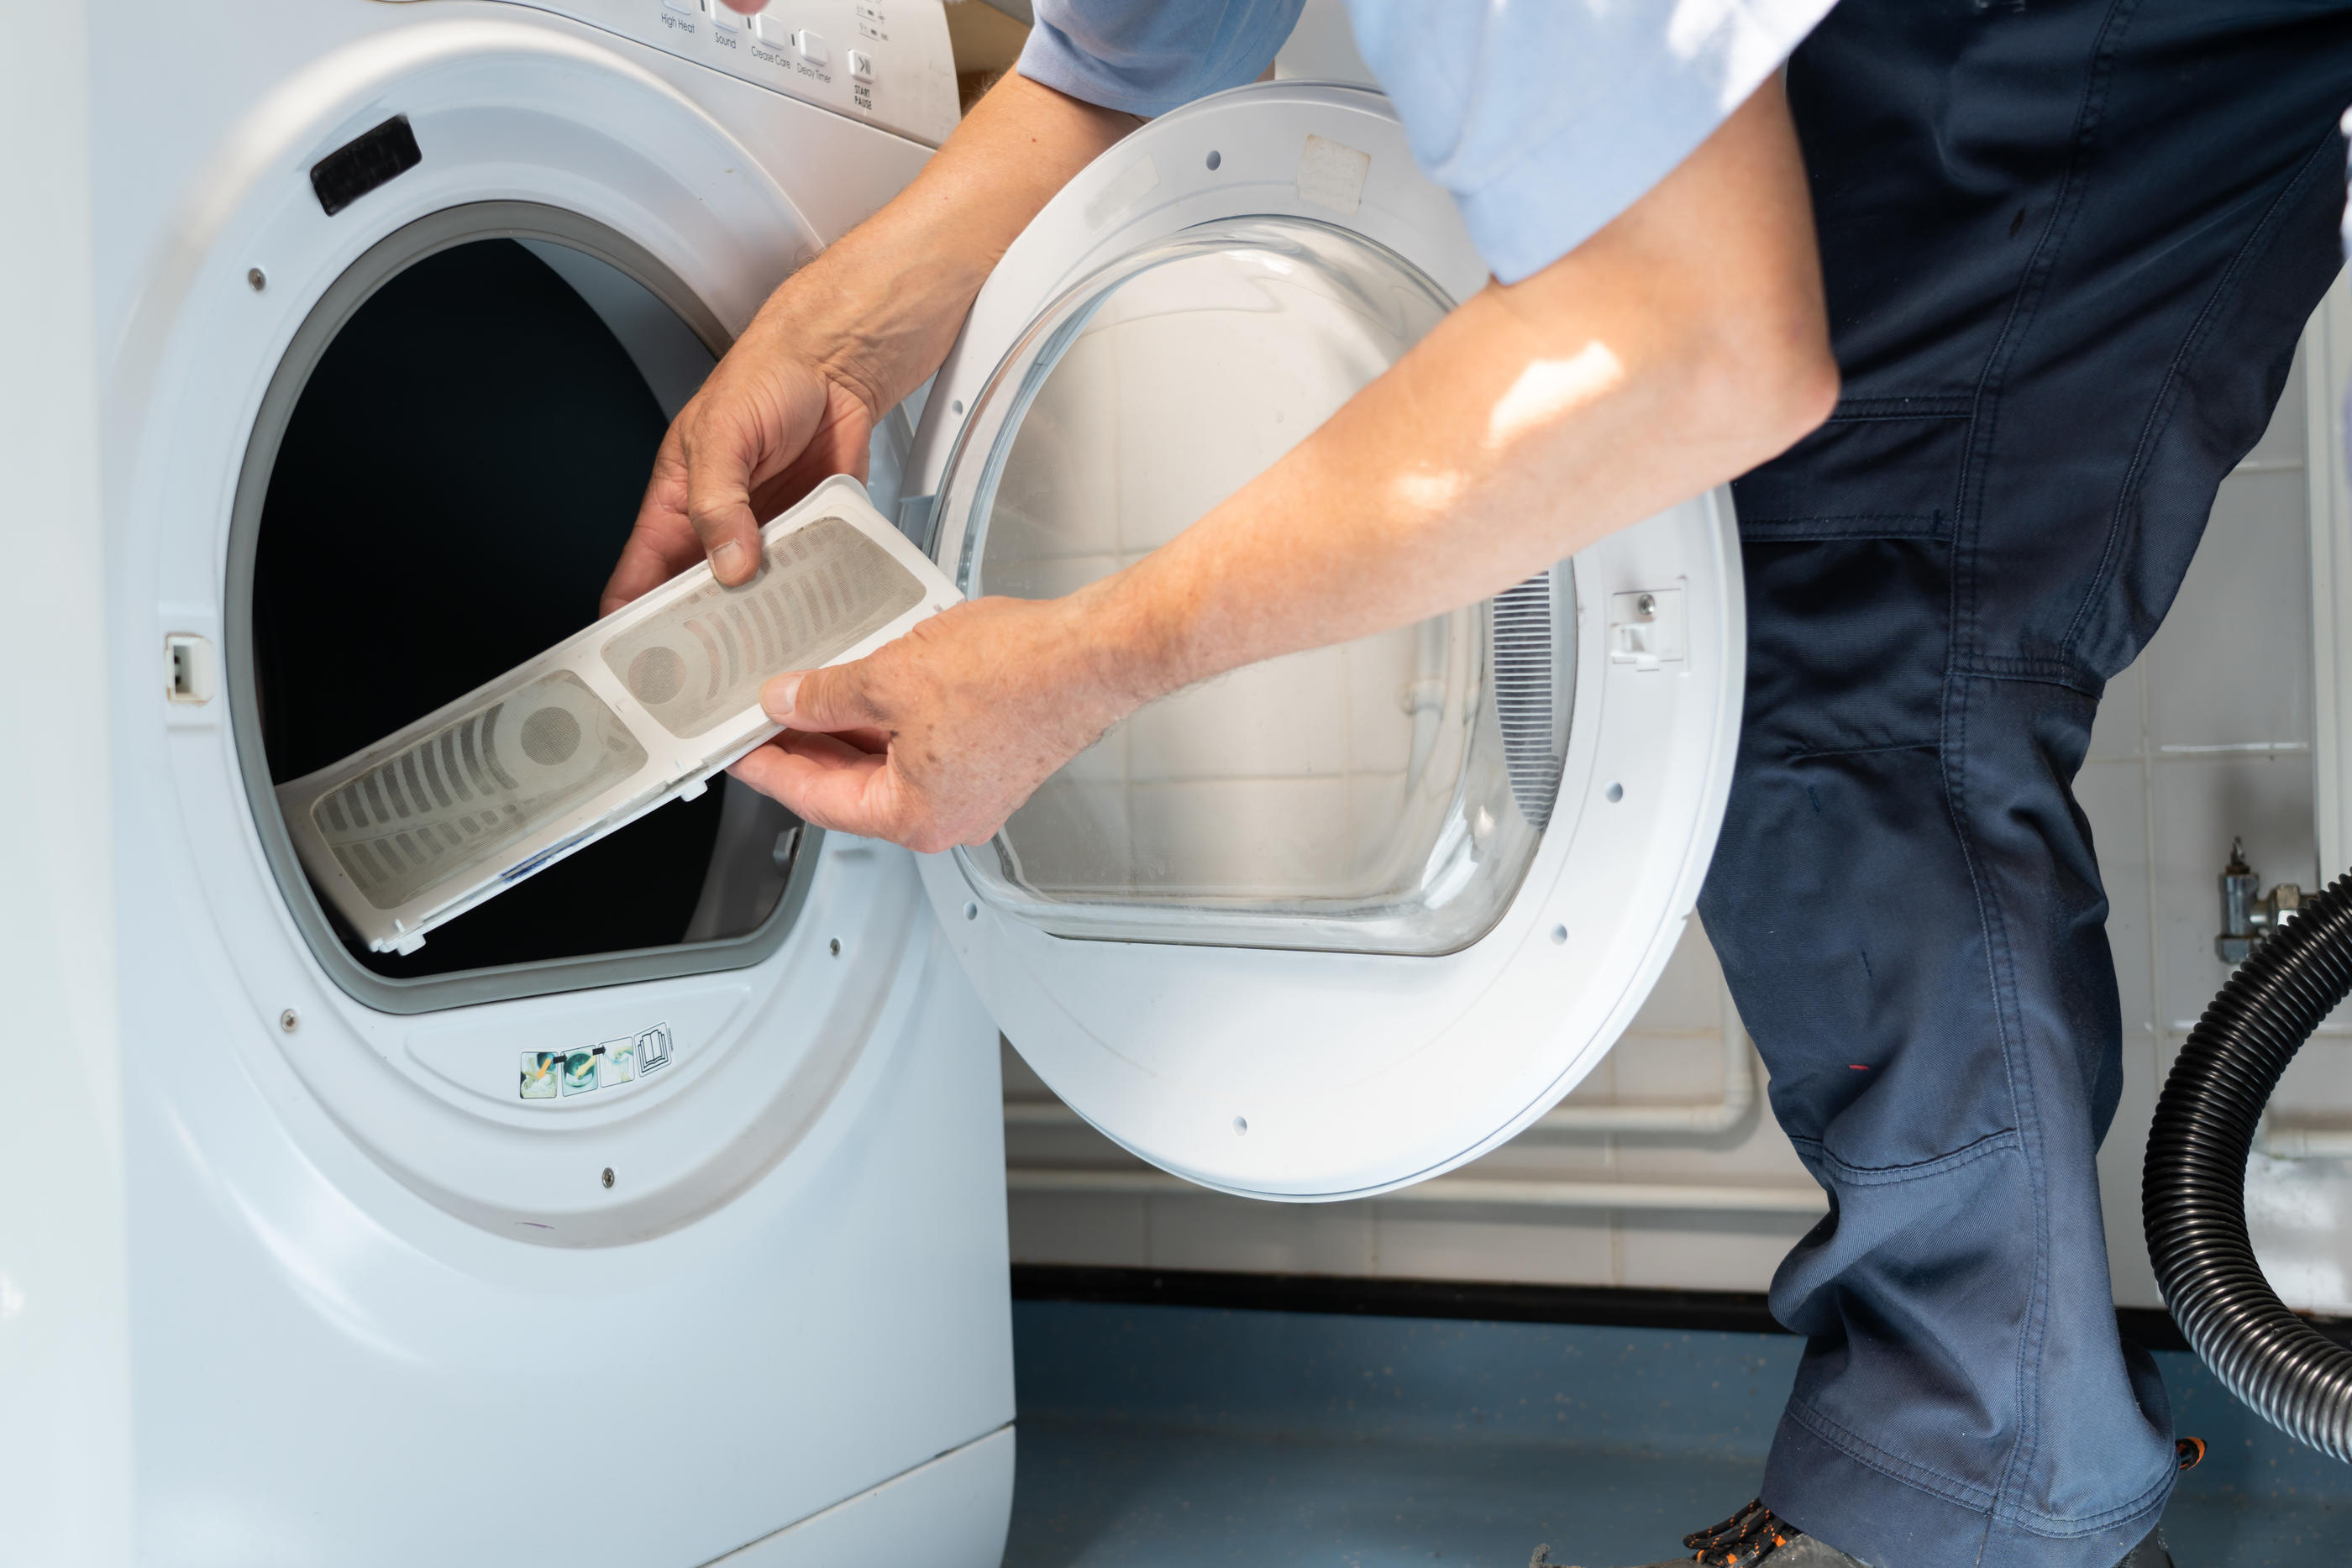
- Clean the lint trap: A dryer lint cleaning begins with the lint trap. Take out the trap and remove any visible lint. Run the trap under running water, scrubbing it gently with liquid soap and a soft brush to remove any dryer sheet residue. Allow the trap to dry completely before replacing.
- Clean the lint trap vent: While the lint trap dries, use an appliance brush to remove any accumulated lint in the lint trap vent. The dryer lint kit contains vacuum hose attachments and an appliance brush to make the job easier. After circulating the brush multiple times throughout the vent, use one of the hose attachments to remove lingering lint particles.
- Disconnect the vent: Unplug the dryer and move it away from the wall to access the vent. Disconnect the vent from the wall and the machine, using a screwdriver to remove any vent clamps.
- Clean vent with appliance brush: Rotate the appliance brush throughout the vent, allowing it to collect as much lint as possible. Repeat until the brush no longer picks up any lint.
- Vacuum vent with hose attachment: Circulate the vacuum’s hose attachment throughout the vent to pick up any remaining lint. Skip this step if you have flexible foil or plastic ducts that the hose can puncture.
- Clean the area around the dryer and vent: Use the vacuum to remove any lint that’s on the floor around the vent and dryer.
- Clean out exterior vent opening: Use the appliance brush or vacuum hose attachment to clean out the vent opening on the exterior of your home. Be sure to clean the flaps on the vent cover as well.
- Reconnect the vent: Reattach the vent to the wall and the dryer. These tips on how to repair your vent line can ensure that it’s secured properly. Once the vent hose is secure, reposition the dryer back in place and restore power.
How to Avoid Dryer Lint Buildup
Regular maintenance and the right use and care can go a long way in preventing dryer lint from accumulating.
Avoid dryer lint buildup with these simple tips:
- Clean the lint trap after each drying cycle: This prevents lint from building up in the lint trap housing and vents and promotes proper air circulation, improving performance.
- Dust and vacuum around the dryer regularly: Keeping this area clean improves airflow around the vents, ensuring proper circulation and reducing the risk of overheating.
- Clean the lint trap housing periodically: Take out the lint trap and clean the lint trap housing with a vacuum hose attachment regularly to remove accumulated lint.
- Perform regular dryer vent cleanings: Cleaning dryer vents every 6-12 months, even if they’re not clogged, can prevent lint from accumulating.
Knowing how to clean a dryer vent won’t always prevent every malfunction. Contact Premier Appliance Repair of San Diego when you need a fast and reliable dryer repair 619-377-6388 or visit us: https://
- APPLIANCE REPAIR BONITA, CA
- APPLIANCE REPAIR NATIONAL CITY, CA
- APPLIANCE REPAIR SPRING VALLEY, CA
- APPLIANCE REPAIR DEL MAR, CA
- APPLIANCE REPAIR EL CAJON, CA
- APPLIANCE REPAIR ENCINITAS, CA
- APPLIANCE REPAIR LA JOLLA, CA
- APPLIANCE REPAIR LAKESIDE, CA
- APPLIANCE REPAIR POWAY, CA
- APPLIANCE REPAIR RANCHO SANTA FE, CA
- APPLIANCE REPAIR SAN LUIS REY, CA
- SAN DIEGO APPLIANCE REPAIR
- APPLIANCE REPAIR SANTEE,CA
- APPLIANCE REPAIR SOLANA BEACH, CA
- APPLIANCE REPAIR HILLCREST, CA
- APPLIANCE REPAIR POINT LOMA, CA
- APPLIANCE REPAIR OCEAN BEACH, CA
- APPLIANCE REPAIR MISSION VALLEY, CA
- APPLIANCE REPAIR PACIFIC BEACH, CA
- APPLIANCE REPAIR BAY PARK, CA
- APPLIANCE REPAIR LINDA VISTA, CA
- APPLIANCE REPAIR LOGAN HEIGHTS, CA
- APPLIANCE REPAIR NORTH PARK, CA
- APPLIANCE REPAIR SAN DIEGO
- APPLIANCE REPAIR NORMAL HEIGHTS, CA
- APPLIANCE REPAIR CLAIREMONT MESA, CA
- APPLIANCE REPAIR CARLSBAD, CA
- APPLIANCE REPAIR CORONADO, CA
- APPLIANCE REPAIR DEL CERRO, CA
- APPLIANCE REPAIR SORRENTO VALLEY, CA
- APPLIANCE REPAIR UNIVERSITY CITY, CA
- APPLIANCE REPAIR KEARNEY MESA, CA
- APPLIANCE REPAIR TIERRASANTA, CA
- APPLIANCE REPAIR MIRA MESA, CA
- APPLIANCE REPAIR RANCHO BERNARDO, CA
- APPLIANCE REPAIR RANCHO PENASQUITOS, CA

7919 Silverton Ave, San Diego, CA 92126


